Drawing Blood Vessels Using Illustrator’s Blend Tools by Annie Campbell
Intro
In this tutorial medical illustrator Annie Campbell will show you how to use Adobe Illustrator’s blend tool to create vector blood vessels.
Simona Pfeundner’s article—“Illustrator’s Blend Tool: A Comprehensive Guide”—has been floating around the internet for quite a while. It’s a really good overview of what the Blend Tool can do. No doubt you’ll have stumbled upon it yourself at one time or another. If you haven’t then I would definitely recommend you take a quick read. Her article has inspired me to play around with the blend tool for some of my projects and I found that I could really utilize this tool for creating blood vessels.
In thistutorial, I will show you how to create a vector blood vessel using the Blend Tool. It’s a pretty simple process that you can definitely build upon for future projects.

Step 1
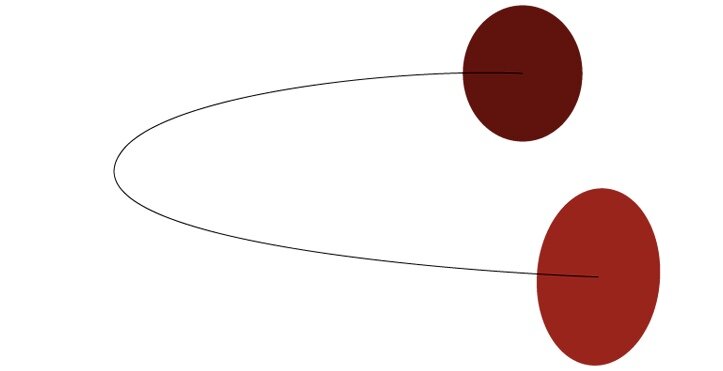
Using the Pen Tool, plot out the curvature of the blood vessel.
Step 2
Once you have the basic shape, take the Ellipse Tool and create two ellipses at each end of the vessel.The handy thing about this is that the ellipses do not have to be the same size or orientation. You’ll soon see why.

Step 3
Now select the two ellipses and go to the Object menu --> Blend --> Make

Step 4
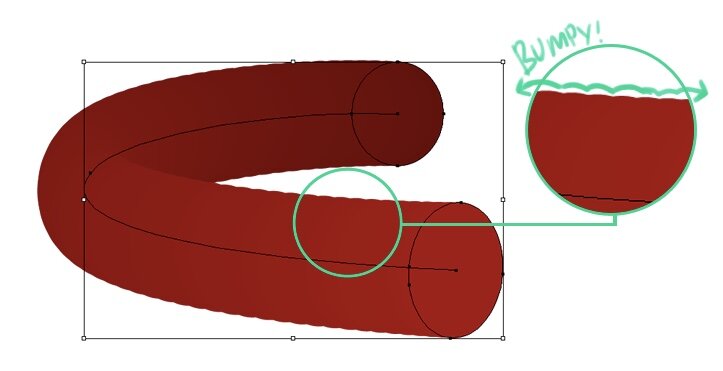
Depending on your Blend Option settings you will get something similar to the image below. So now we need to attach the blended shape to the curved line we created earlier. Select all elements on the scene and go back to the Object menu --> Blend --> Replace spine.
Step 5
OK great, now you'll see that you have a curved blend shape. The next step would be to tweak your settings, as you may come across odd bumpiness like this:
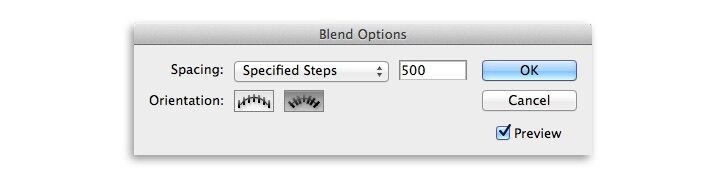
Go to Object menu --> Blend --> Blend Options and you will open this parameters box.

Try out the settings that I have above and you'll find that the bumps smooth out. My settings for Blend Options are: Spacing - Specific Steps Number - 500 Orientation - check the 2nd option "Align to Path"

FINISHED
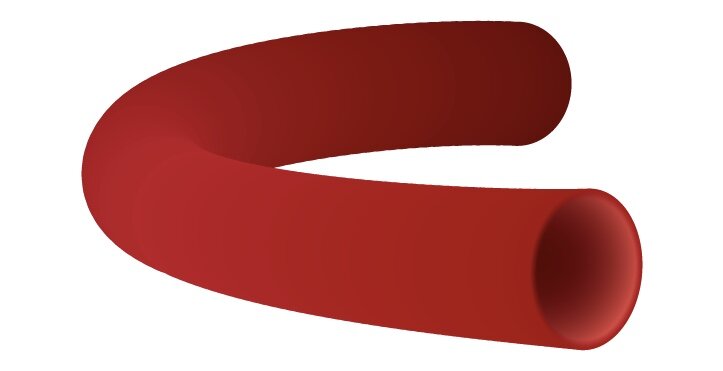
So that's the basics of using blend shapes to quickly create blood vessels. You can further add to the scene using the ellipse and gradient fill tools to create the final image. I’ll leave you to figure out those parts yourself ;)

How can you utilize this for your production?
One option would be to quickly lay out a capillary network if you don't want to spend time getting good looking curves by hand. The blend tool shape allows you to quickly plot in and also edit points. You can then export the shapes and also paths into Photoshop for further editing.

Another option would be to trace over your hand-drawn sketches and quickly set up paths in Illustrator for you to utilize in Photoshop. After you've exported your blend shapes into Photoshop, to create usable paths, make sure you expand your blend shapes and unite the paths in the Pathfinder menu. I've taken one of Grey's Anatomy Illustrations to show you as an example:

Here is an example of how we used blend shapes to help us map out blood vessels for a journal article illustration: